In Canada, I recommend this workflow to help you prepare for a backcountry trip in the Sea to Sky Region and use the Avaluator v2.0TM – Avalanche Accident Prevention Card - as a resource for trip planning and in the field as a decision aid. In summary, trip planning, as suggested by Alpine Club of Canada (ACC) focuses on three factors and this blog focuses on factor number two: :
Determining who you will ski with,
Understanding the conditions, and
Selecting an appropriate destination.
Quick reminder that in the field, I recommend following the Avaluator Accident Prevention Card and this blog focuses on the first stage of your trip:
Trip Planning
Identifying Avalanche Terrain
Slope Evaluation
Good Travel Habits
Workflow Summary for Understanding the Conditions
Step 1.0 – Check the Bulletin
Step 2.0 – Read the MIN Reports
Step 3.0 – Visit the Mountain Conditions Report (MCR) by ACMG and Arcteryx.
Step 4.0 – Collect actual weather data
Step 5.0 – Find a weather forecast
Step 6.0 – Write this info into the Avalanche Canada Decision Making in Avalanche Terrain book.
Step 7.0 – Completed the logistics trip plan including navigation, gear, emergency communications, safety friend at home, etc. Get out outside…

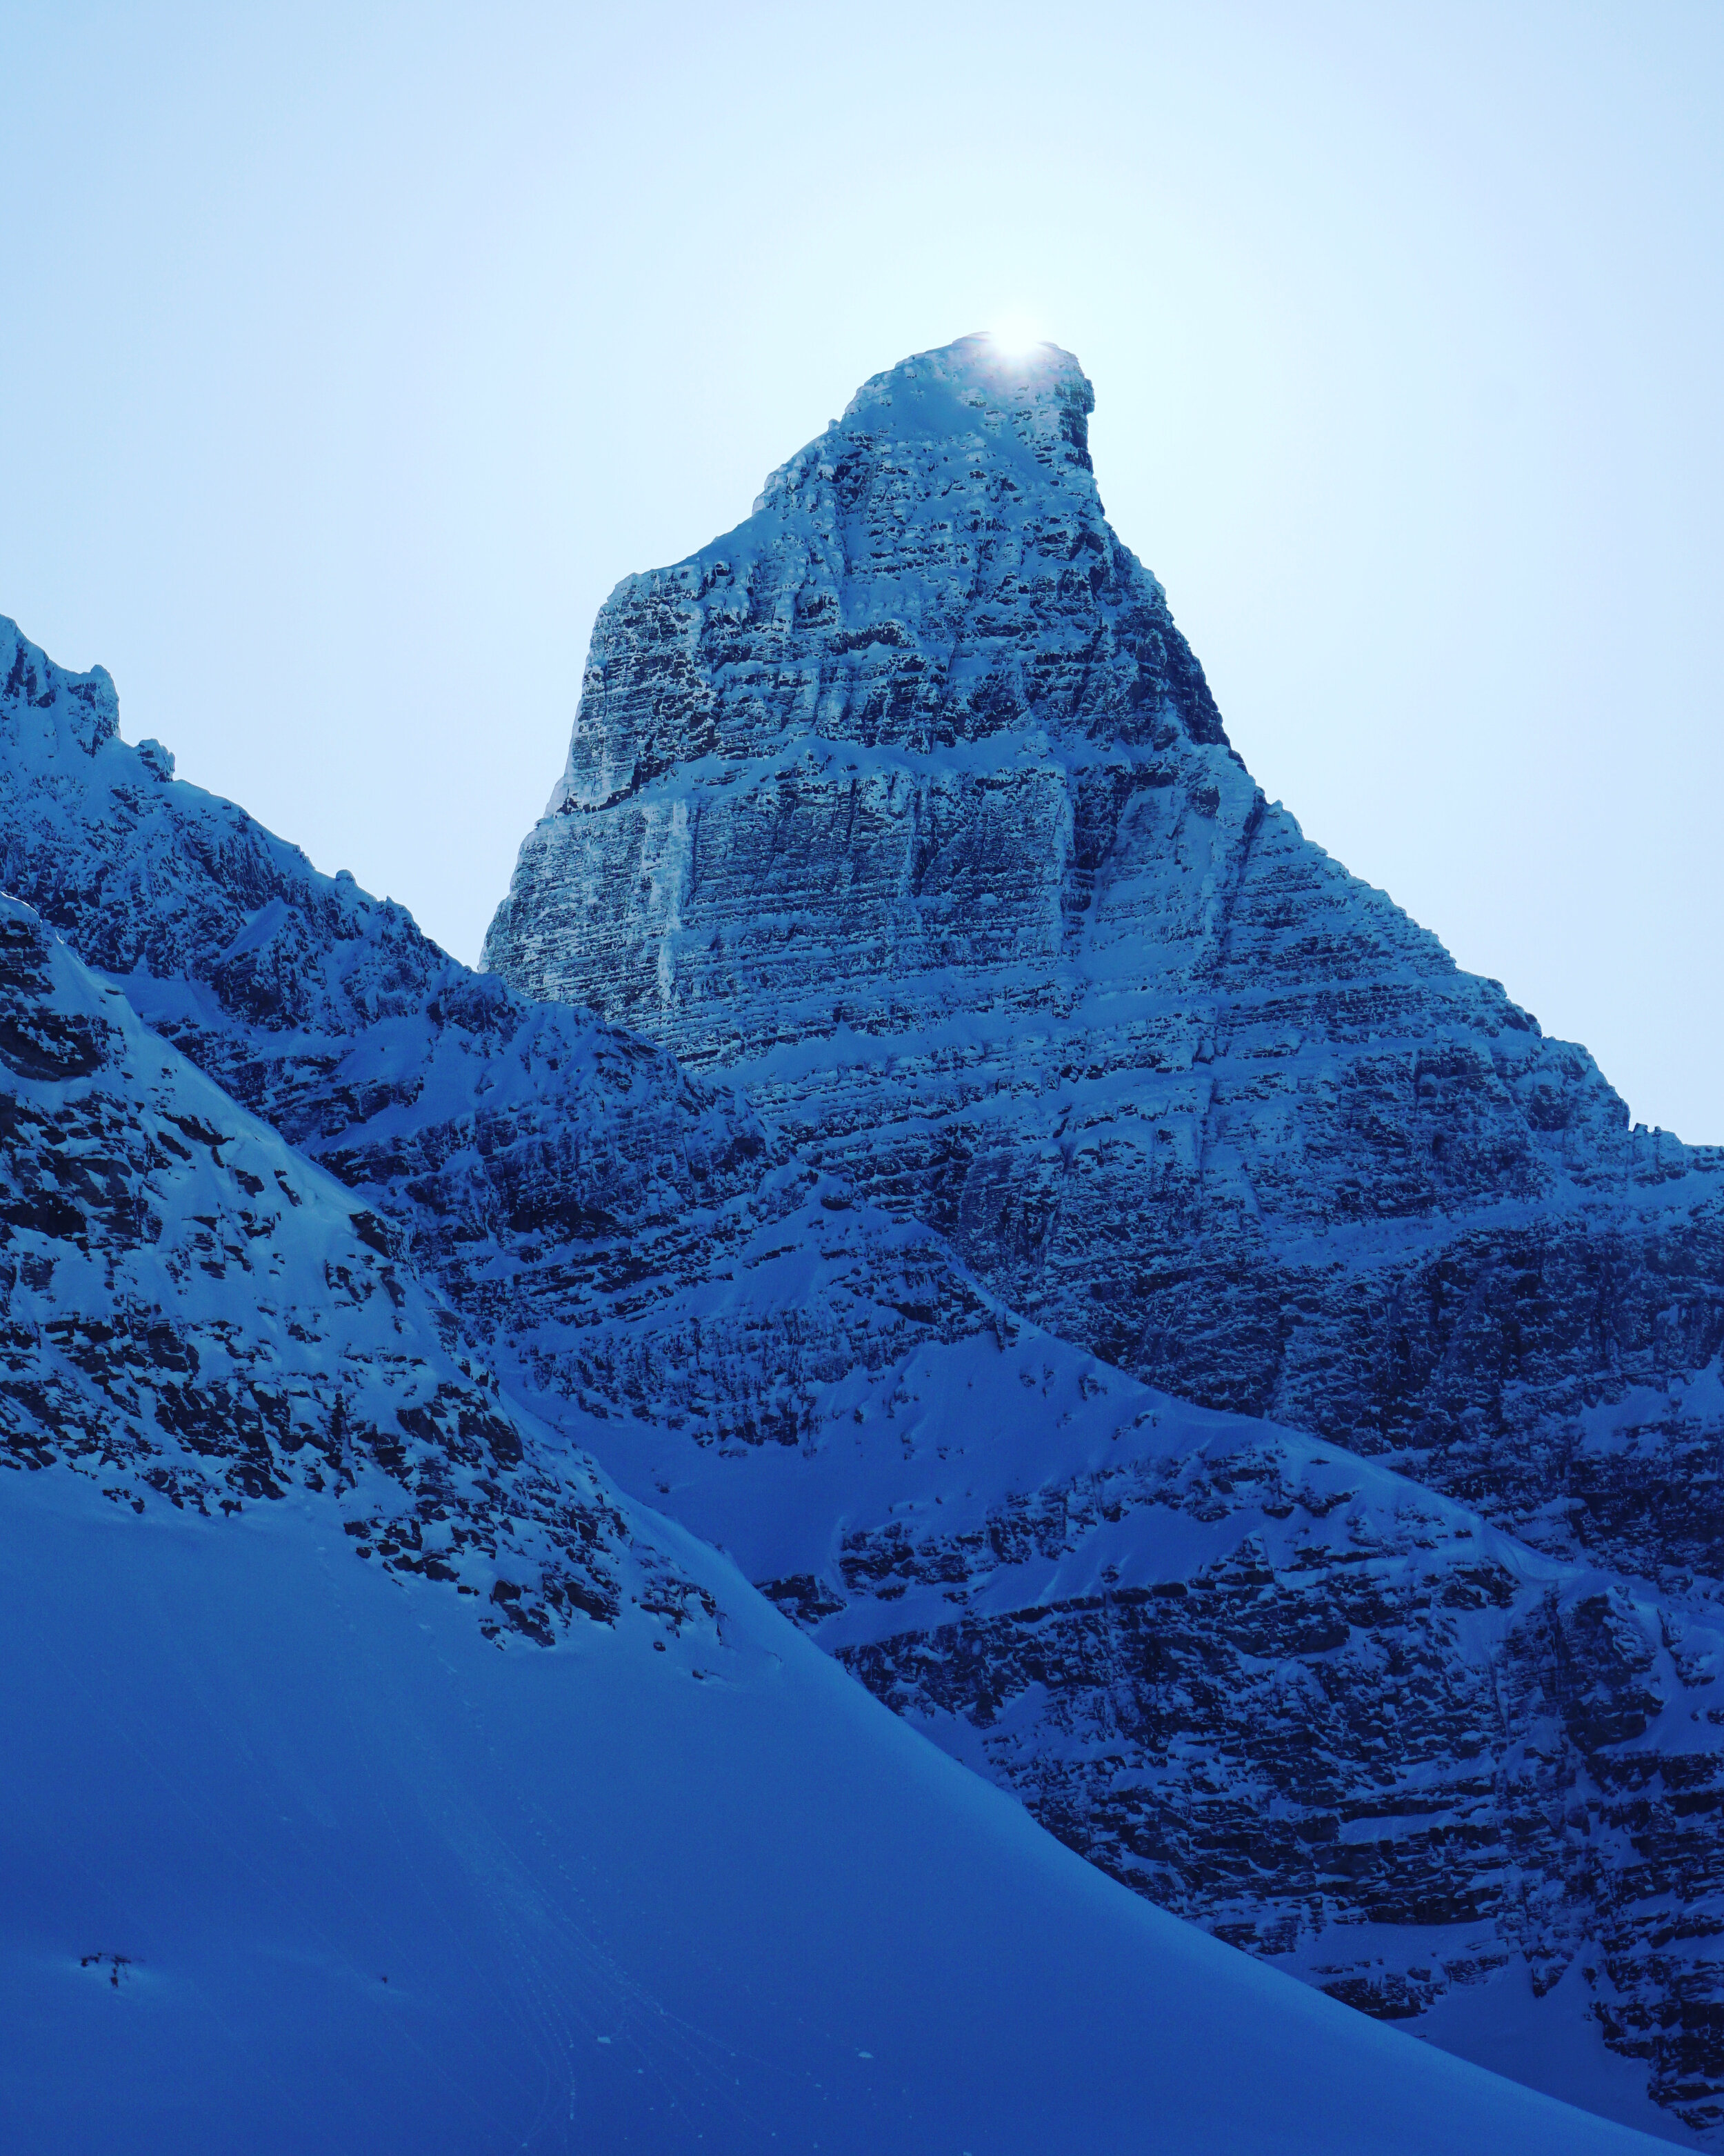
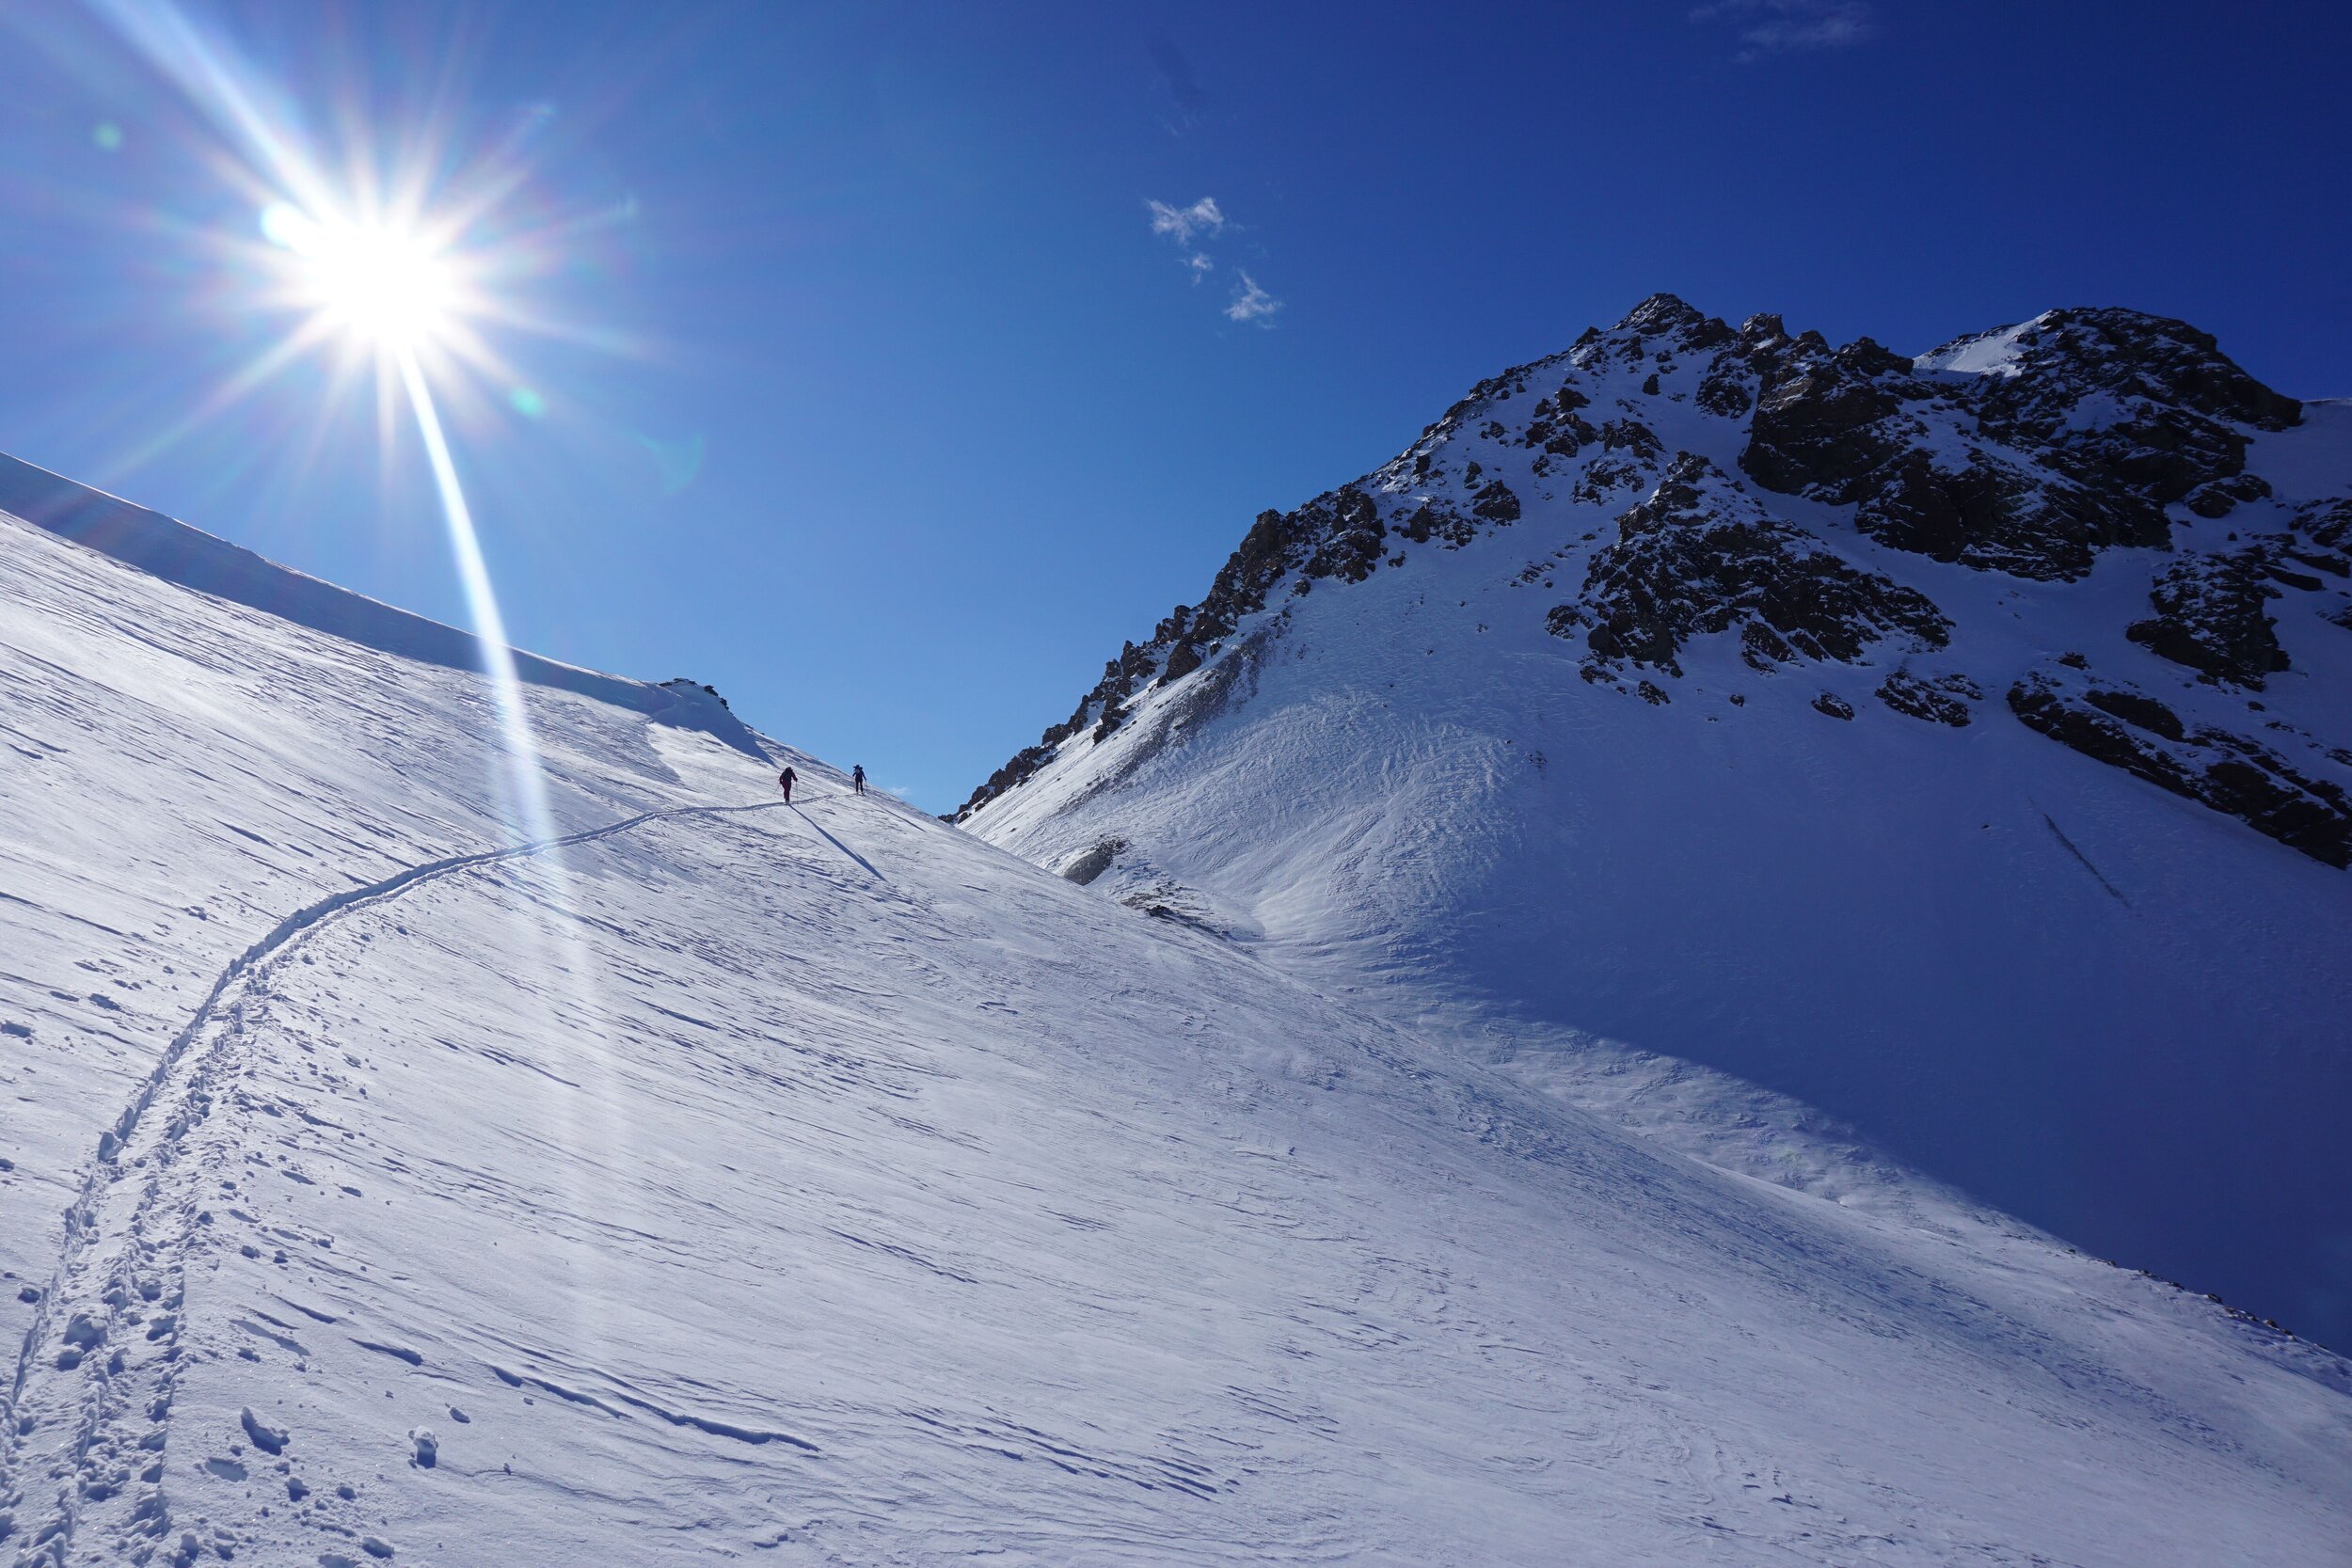
Ski touring terrain from Sea to Sky Gondola and near Co-Pilot Mtn. (Michael Shynkaryk and Anna Heuberger tracks, 2018)
Recommended workflow for the Coast Mountains including the Sea to Sky Region:
Step 1.0 – Check the Bulletin, visit Avalanche Canada, and get the Danger Rating.
This information is gathered from operations all across the province, including Whistler Blackcomb Resort (WB), Duffy Ministry of Highway’s Control Program, local guiding companies (including Altus Mountain Guides, WhiteCap Alpine, Extremely Canadian, etc), and Min Reports (you). Use this info as a bases for developing your plan:
· Check out the problems section, what are the problems, and where do they exist?
· How widespread are the problems?
· What aspect, elevation, probability and size of the forecasted avalanches?
· Dig deeper and review the details page.
Step 2.0 – Read the MIN Reports and avalanche summary on the details page.
See what’s happening from backcountry recreationalists in the area. Ask yourself the following questions:
· Is this info consistent with the report?
· Are there any outliers?
Step 3.0 – Visit the Mountain Conditions Report (MCR) by ACMG and Arcteryx.
This is another similar resource as MIN reports but written by ACMG Guides. Note the date range and location selection. In addition:
Step 3.1 – Wayne Flann Avalanche Blog has lots of observations, actuals from the Whistler Blackcomb Area.
Step 3.2 – Avalanche Canada Forecaster Blog is less frequent with updates but great info to review and when released.
Step 4.0 – Collect actual weather data from local weather stations.
See what’s happening with snow, wind and temperatures. How is this all playing into your objectives for the day?
Whistler Blackcomb Resort is a good centre point of reference for the coast and have plenty of resources. A few others are linked here:
Duffy Weather Stations
More links at John Baldwin, M.Eng (Coastal Engineer and Skier) Site
Step 5.0 – Find a weather forecast for your backcountry trip zone.
1. Read Mountain Weather Forecast on Avalanche Canada and get a general understanding of the weather flow.
a. Where is the weather coming from? Is it a high pressure, southwest flow, or northwest flow?
b. See Current Conditions sections.
2. Look at forecast info: 12 hr total precipitation, temperature and winds forecasts maps. Find your trip zone, make notes of how the precipitation, wind and temperature forecasts will effect the day or trip.
3. Now find a weather forecast model. The following sites I like and compare a few models to get a overall broad view of the weather forecast:
a. Windy
b. SpotWX
Step 6.0 – Write this info into a write in the rain field book, Avalanche Canada Decision Making in Avalanche Terrain book and/or on your phone (iPhone/Android Notes app).
I recommend this workflow for recreationalist and are most of the pages to view to gather information. Then it’s a matter of compiling all the information into a strategy for the day. Avalanche Danger, Problems, Weather forecasts, and expected changes. Use the your field book and/or the Decision Making in Avalanche Terrain book to note the following answers to these questions:
· What’s changed overnight? How does this affect what and where you will ski?
· What’s significant in your weather factors?
· What features should you be cautions of or avoid?
· Is the avalanche hazard improving, worsening, or staying similar (status quo)?
· Are you or your group increasing risk tolerance, decreasing, gathering more information or adjusting?
Step 7.0 – Completed the logistics trip plan including navigation, gear, emergency communications, safety friend at home, etc. Get out outside…
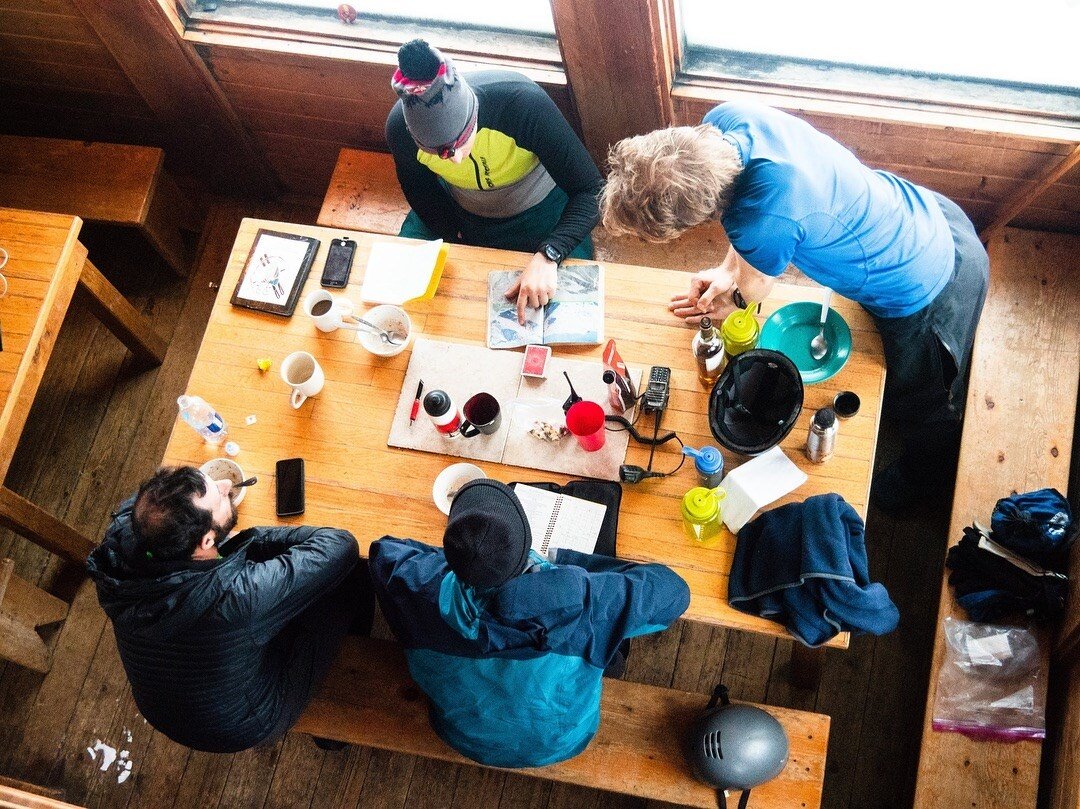
Daily AM Meeting at Alpine Club Canada Asulkan Hut, Rogers Pass, BC, Canada. (2018)
In the backcountry, as your day begins then be cognizant of all the human factors (FACETS) that come into play during the day. Check in with one another and talk it out. Choose objectives that fit the group and where everyone is comfortable. Manage the avalanche hazard with the help from the Avaluator 2.0TM decision aid, and refer back to and update your notes (Decision Making in Avalanche Terrain book).
These steps can be hard to do when time is limited, and focus is on having enjoyment of a great day. Don’t let enjoyment of a great pow day make you complacent.
As Helene Steiner (IFMGA Guide) mentioned to me recently, “Only one thing missing [in this write up and directed to situational awareness during the trip]: TERRAIN, TERRAIN, TERRAIN!!! Hence, pay attention to not only where YOU ski [snowboard], but the exposures from above. Super important… One of the best advice to give people is: "Look up!" Constantly look up, look up, and if it looks scary to you and steep enough to avalanche down upon you from up there, then don't proceed!!!” (Jan 3, 2021). For more info, please see Avalanche Canada website for Terrain online tutorials.
Finally, do not hesitate to reach out to me or another guide. I always have 5 mins to chat and maybe I was just in the area you want to go to and I can give you a tip. Lastly, take a course, seek out a mentor, and enable others around you to join the conversation.
It’s a lifelong learning journey being in the backcountry and let safe adventure lead you. Sportgevity my friend.

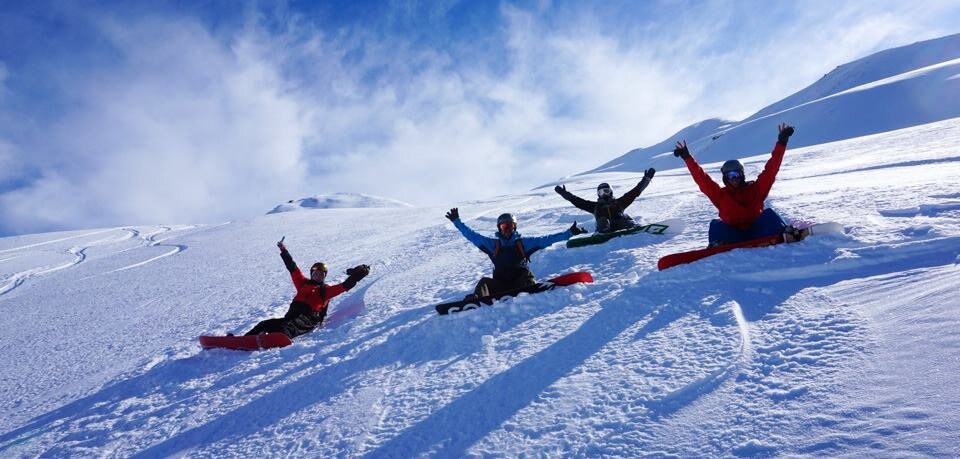
Team photo (2018).